
To send data to a computer
Step 1
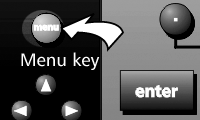
Press the menu key.
Step 2
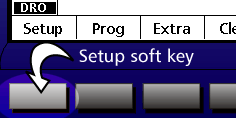
Press the setup soft key.
Step 3
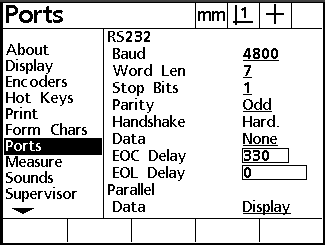
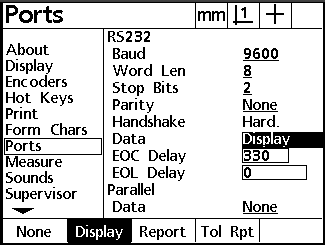
Highlight the ports field as shown.
Step 4
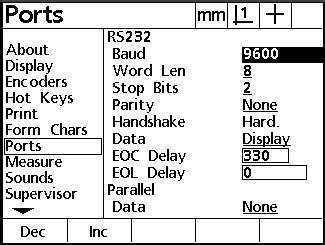
Enter the following RS-232 port settings.
Port settings:
Bits per second: 9600
Word length: 8
Parity: None
Stop bits: 2
Flow control: Hardware
Parallel data: None
Step 5
Set the RS-232 data field to either display, report, or tolerance (tol rpt) report.
Step 6
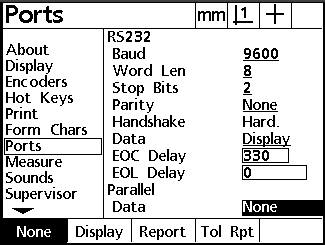
Highlight the parallel data field and press the none soft key.
Step 7
Press the finish key twice.

The QC200 is now set up to send data to the application.
 Back to Metronics Help Page Back to Metronics Help Page
For additional support or to report problems with this page send email to techsupport@metronics.com. |
